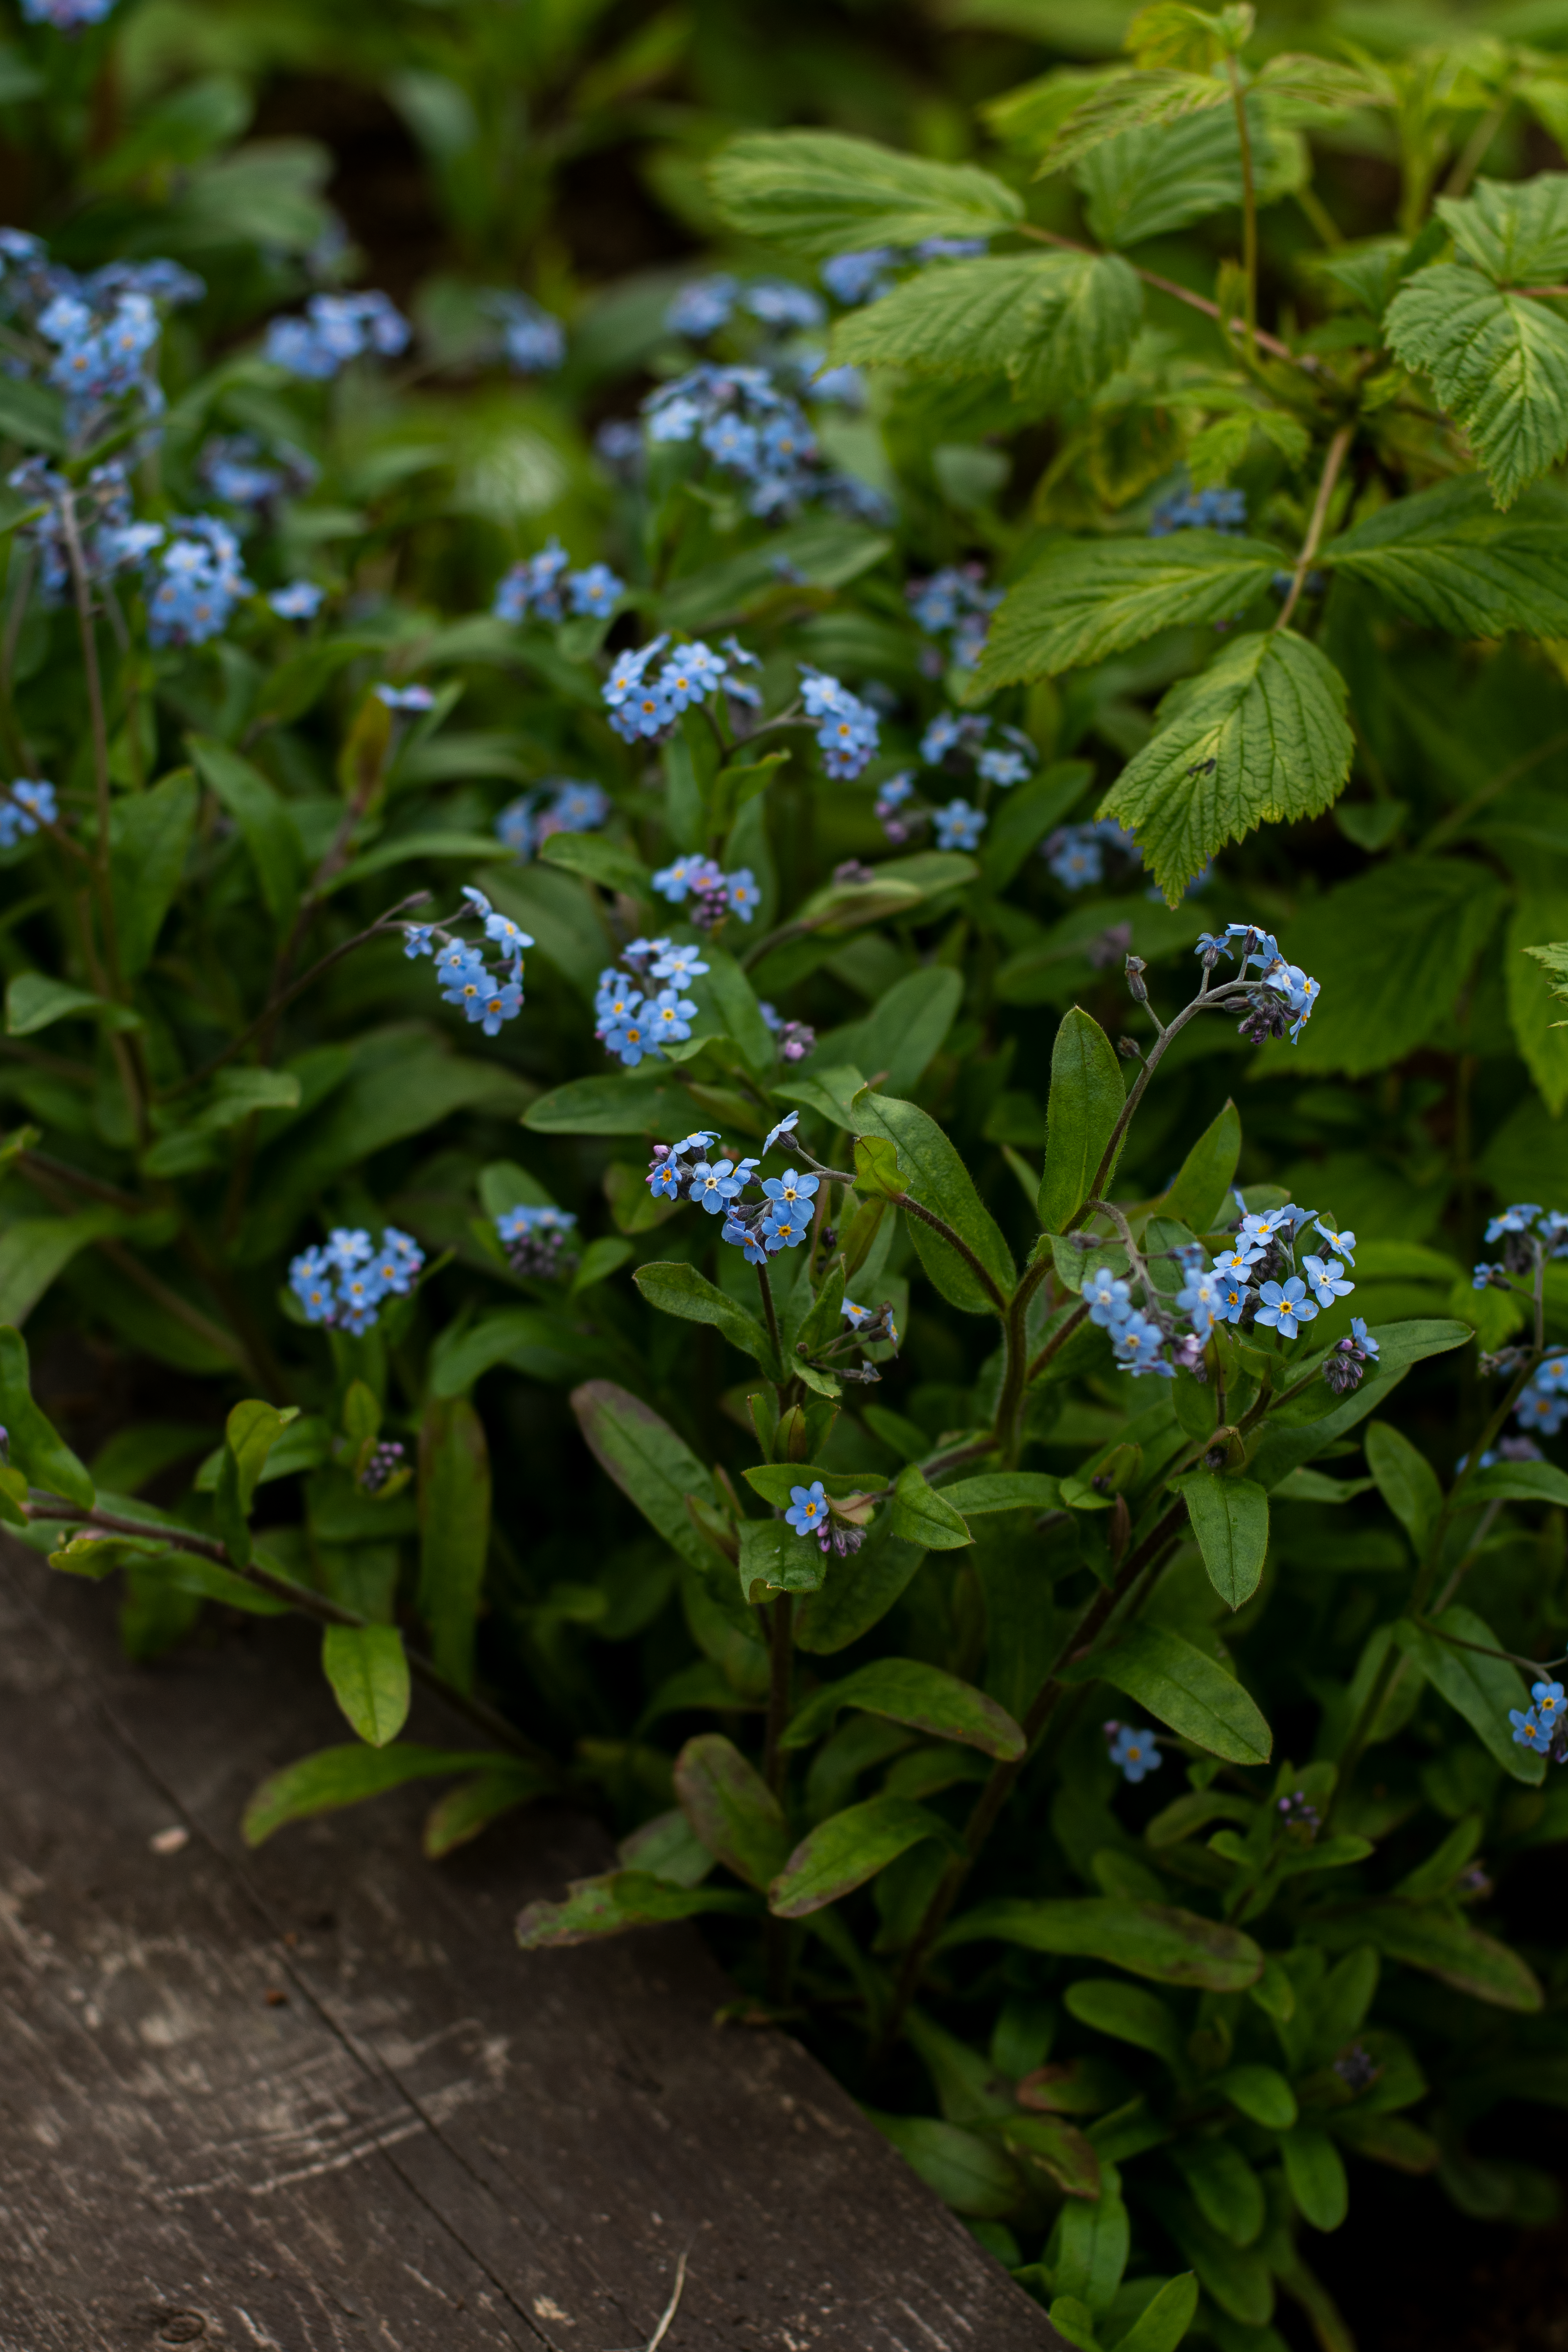
Adobe Premiere Pro
When starting the creation of the video, I first looked at the work that I had done to be able to pick and reflect on the direction of my photographic practice. This allowed me to also pick out the work that I wanted to show inside the video. In the first part of the creation, I decided to produce a new folder with all the work that I would need for the video to be the required 5 minutes in length. At this point, the amount of work needed was guessed due to the length of time spent looking at each project, which was unknown.


The next step was to create a video template at a resolution of 1920 x 1080 for full HD quality. I did this simply by adding a standard HD video that I had previously created to the timeline and using this to automatically generate the resolution that I wanted. I found this easier than creating a new template from scratch, as it allowed me to have all the timeline and selected images imported in only a few seconds. Once I had done this, I started to create the audio for the start of the video to match the text that I had written in the plan. This allowed me to work effectively and to a quick and high standard due to the level of planning that I had already put in place. One thing that I didn’t foresee was me getting sick during the recording of the audio across the three-day sessions. This negatively affected the overall quality of the video due to the obvious change in tone due to becoming ill. Although this was negative, there was sadly no workaround as I still had to work towards the deadline. However, I do feel like this did show the level of commitment that I am willing to put in to produce high-quality work on time.
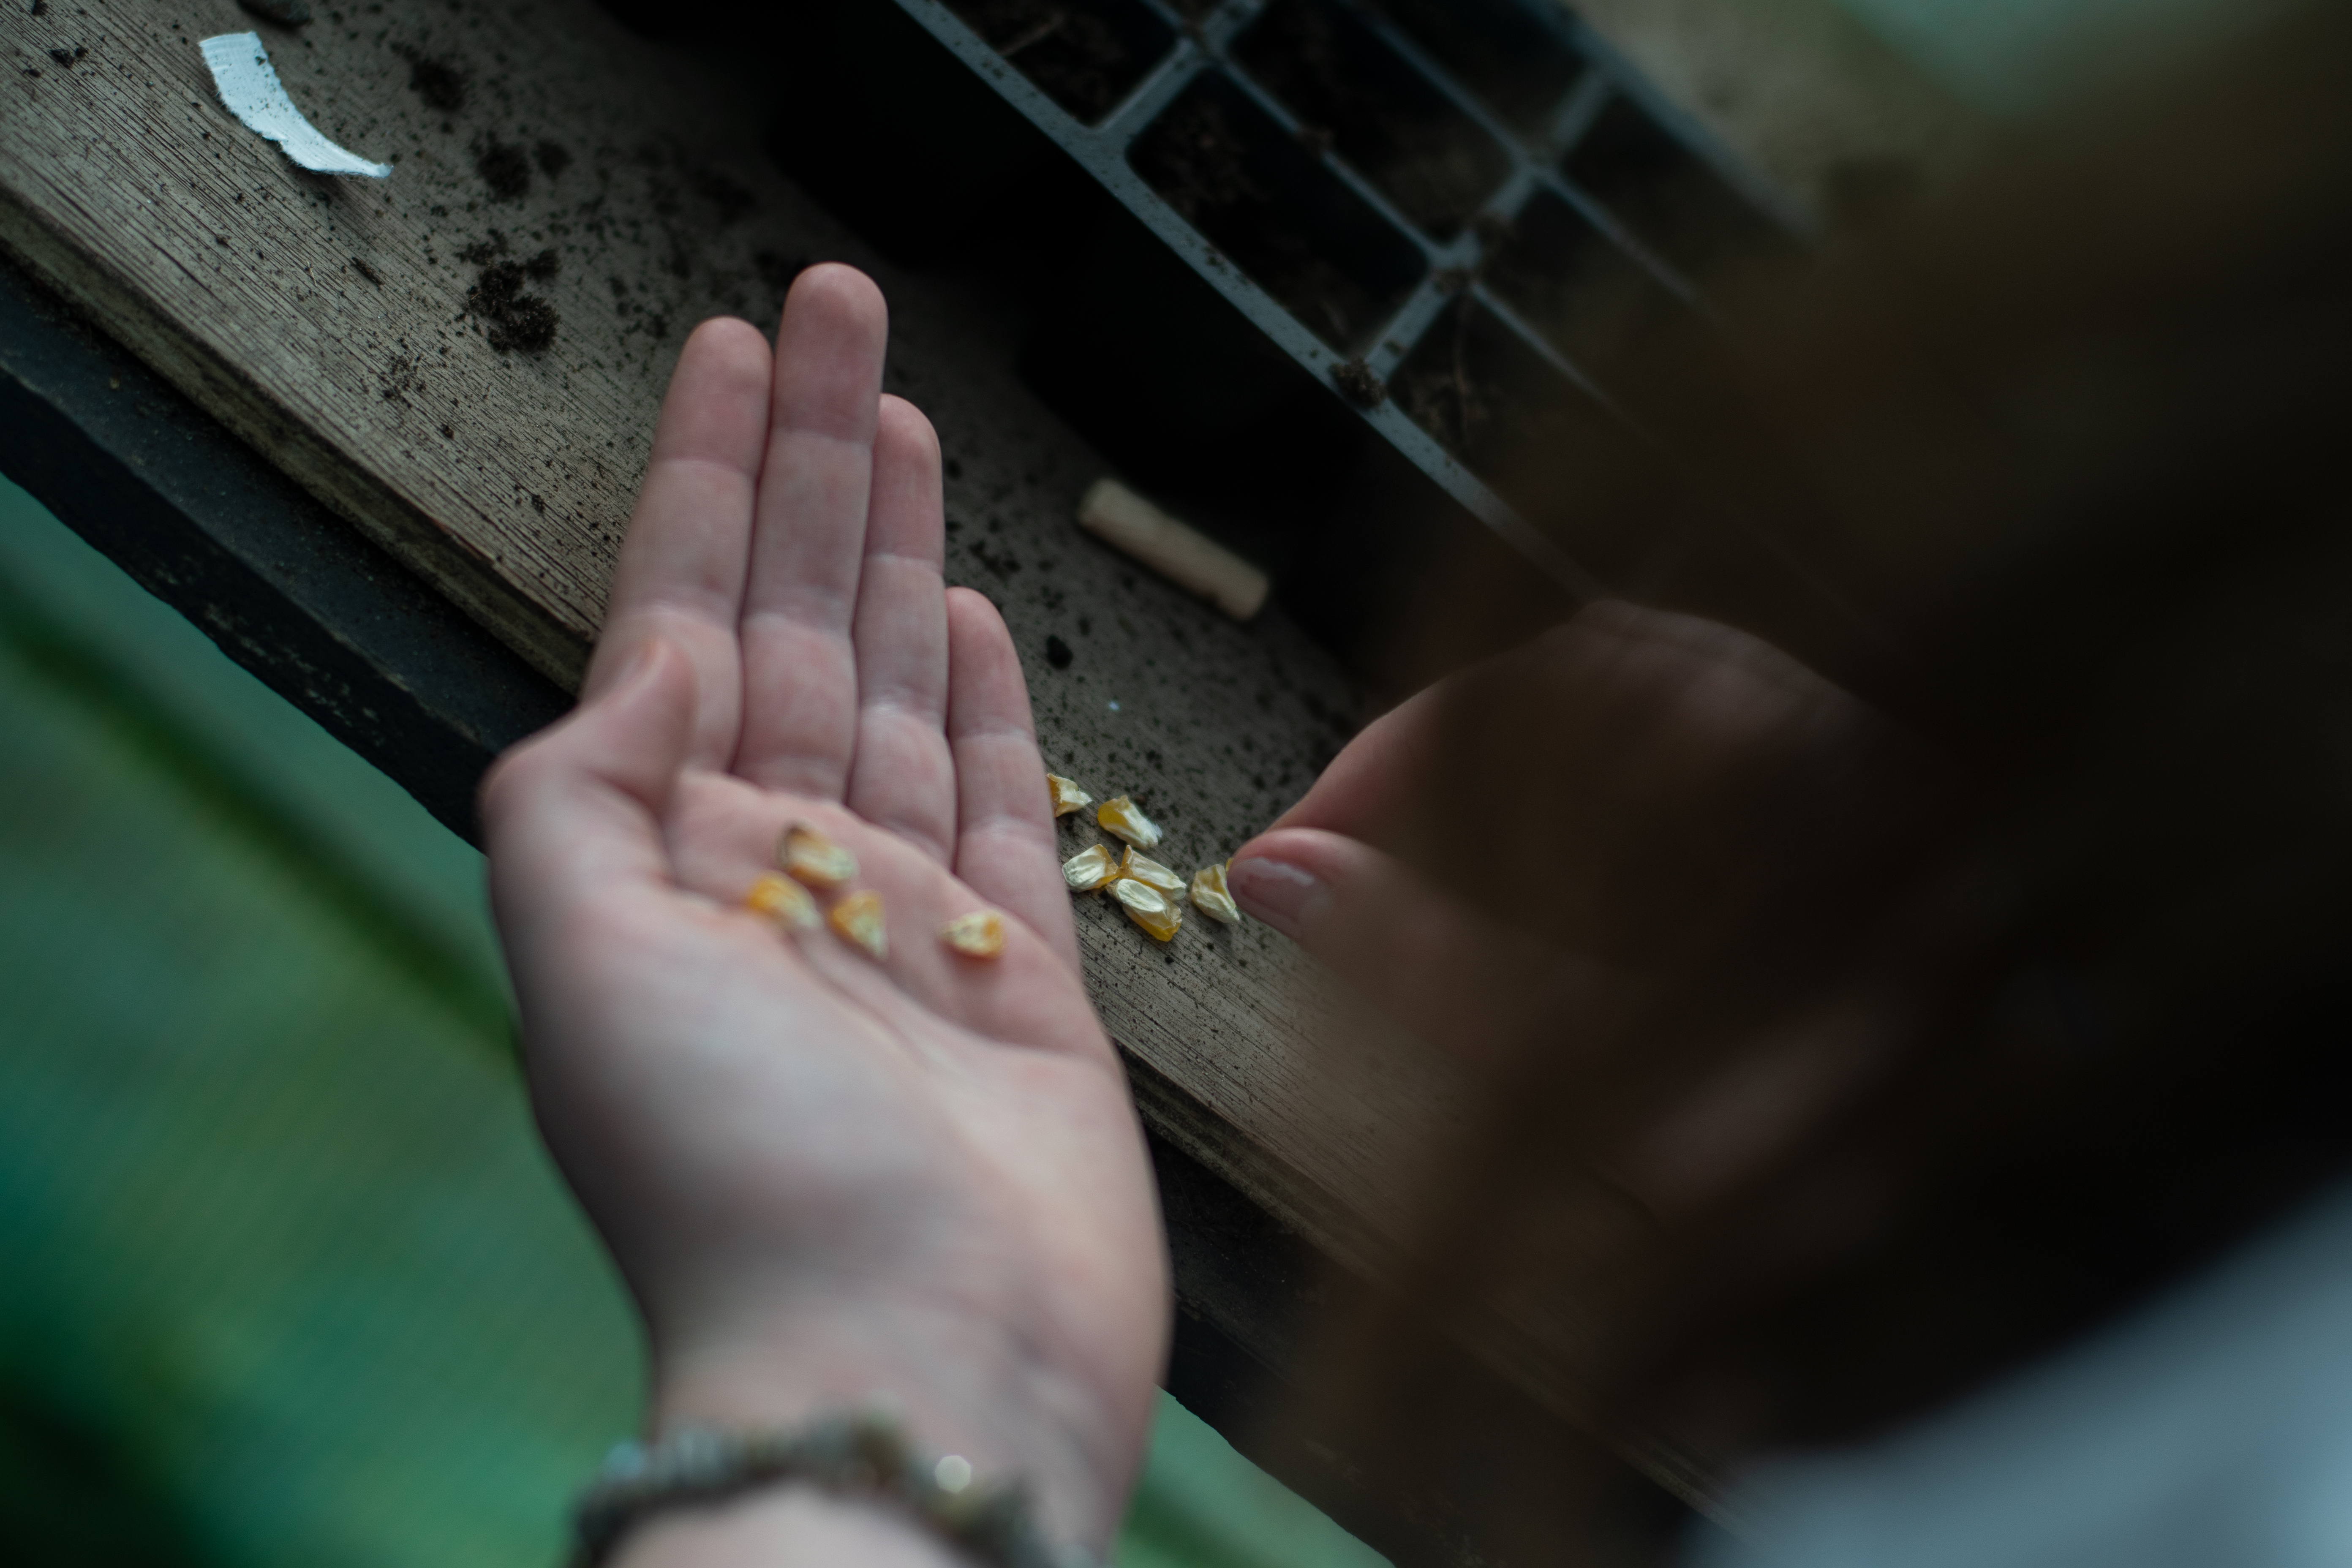
After getting the audio recorded for the start of the video, I had to look at the timing of the images that were being discussed inside the audio tracks. This was another difficult part, as I had to decide on the right moments to change into a new image. Especially when looking at images that are part of a series as a whole.
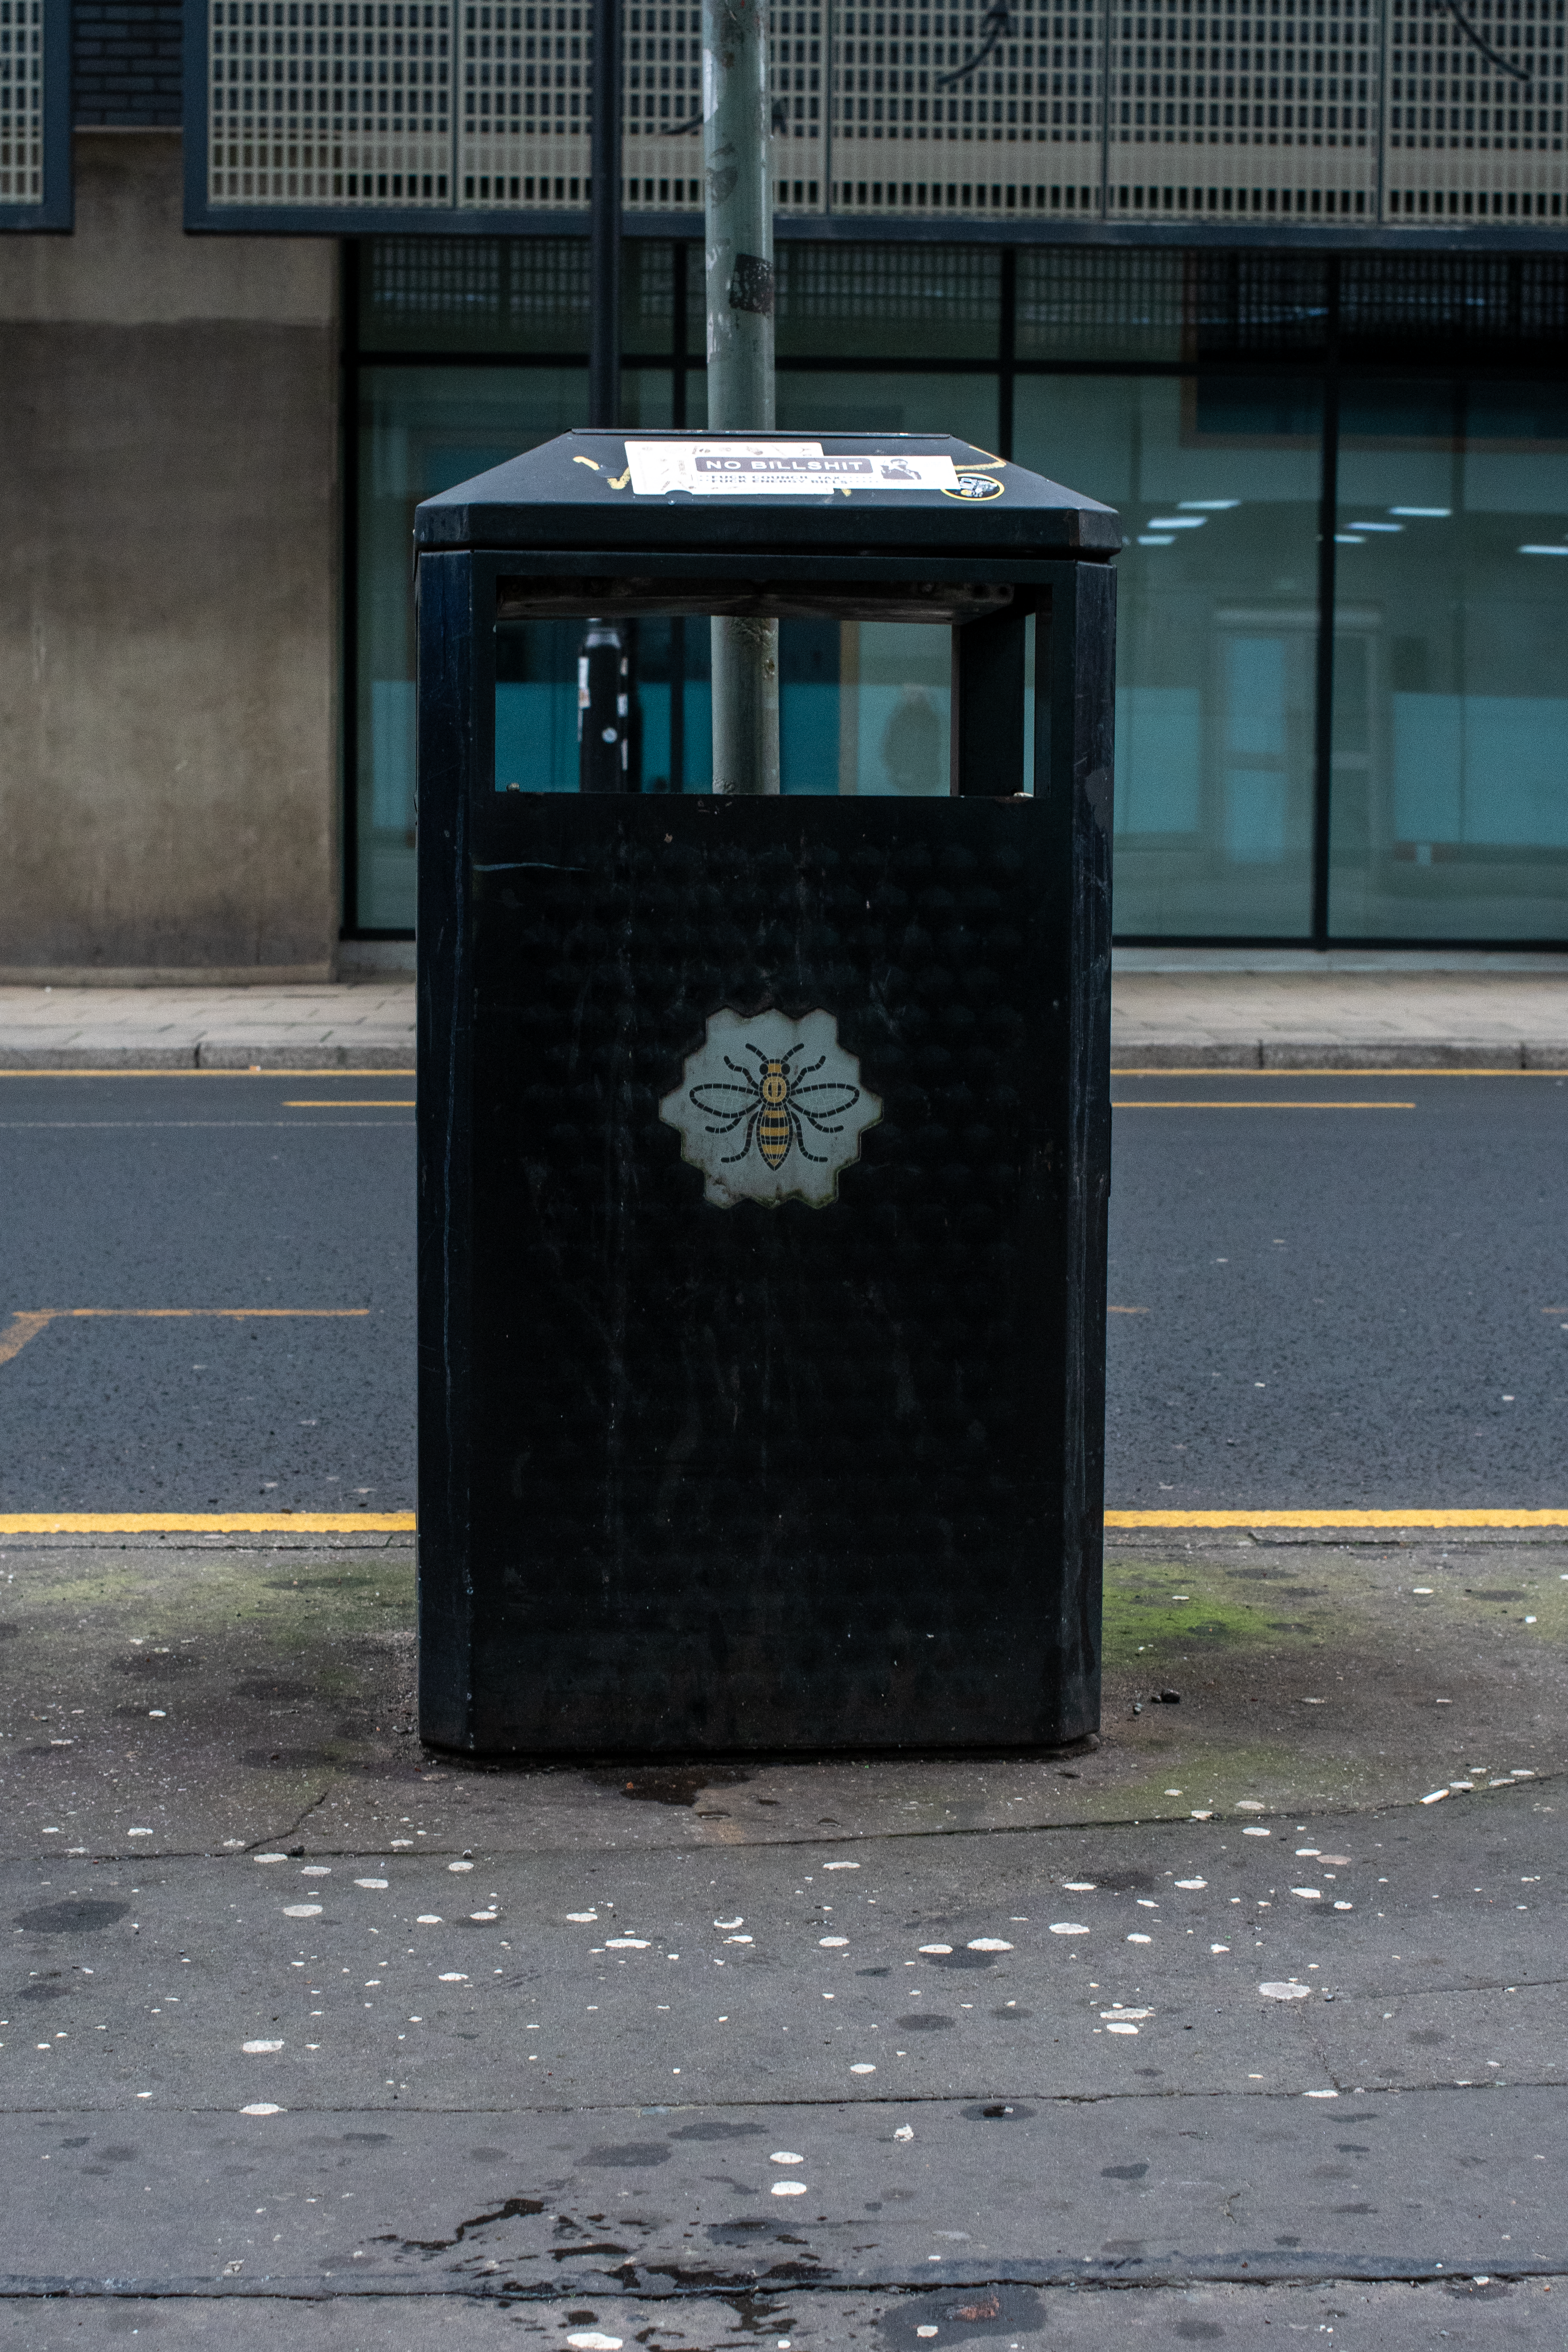
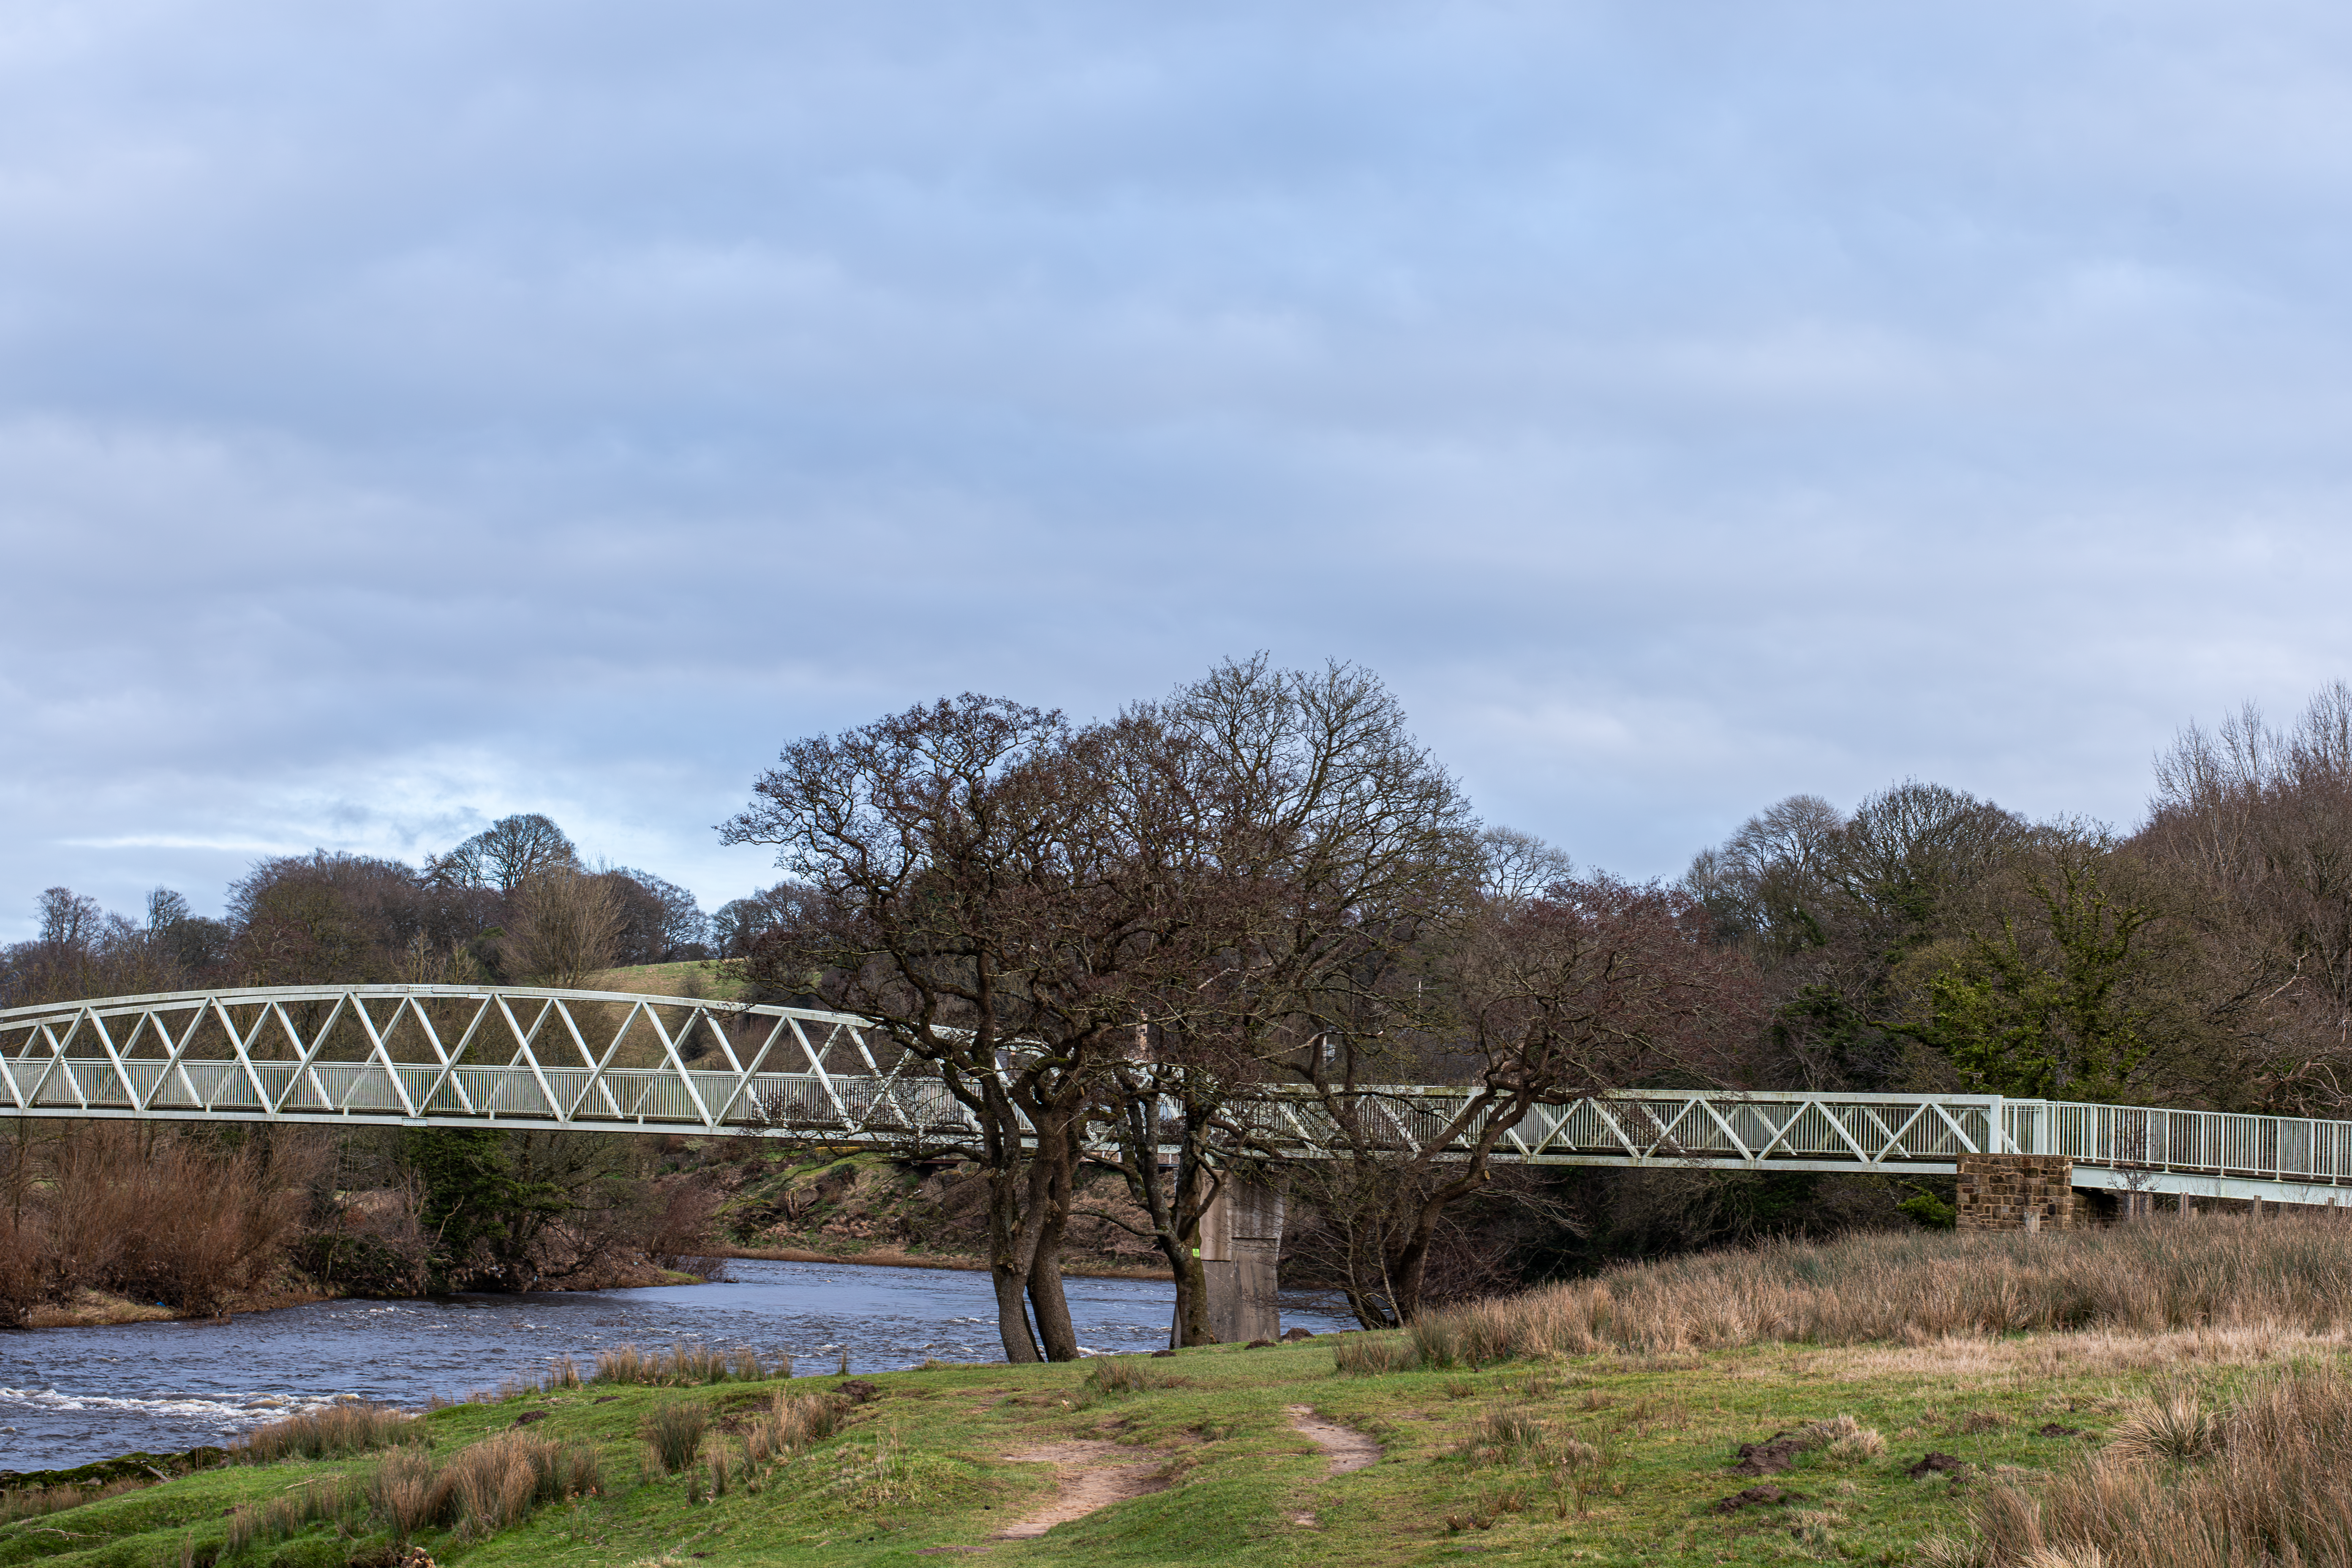
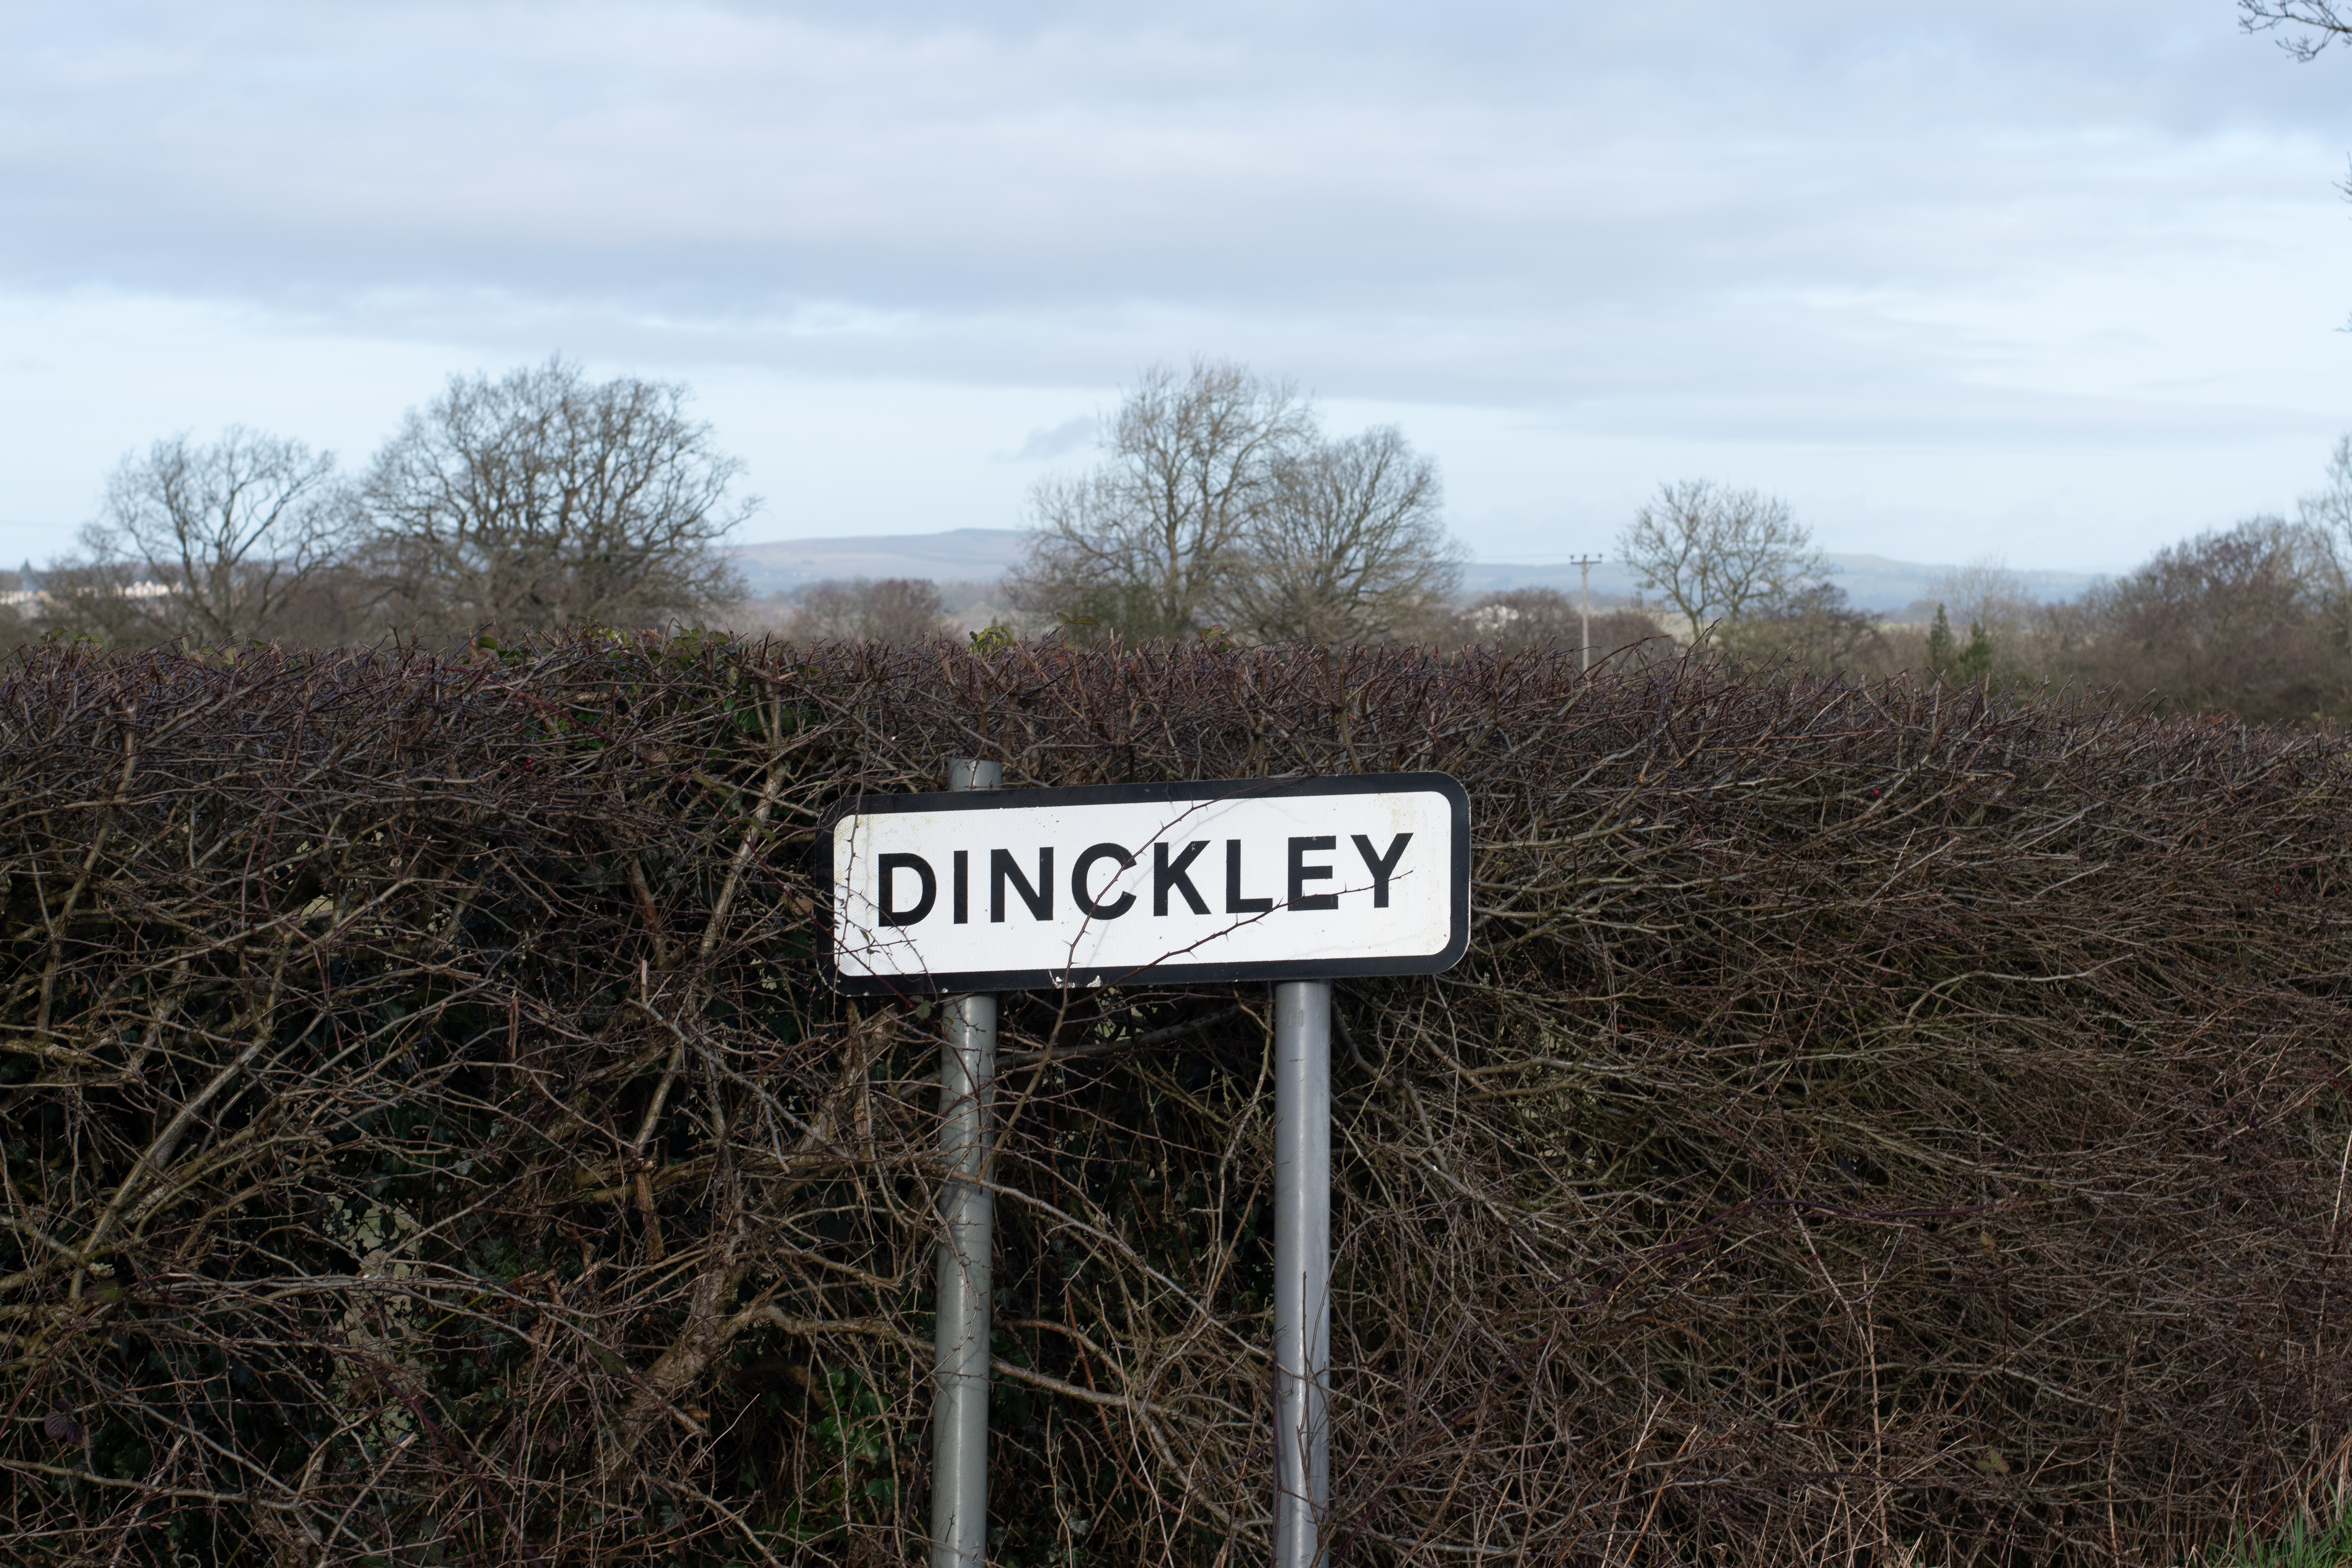
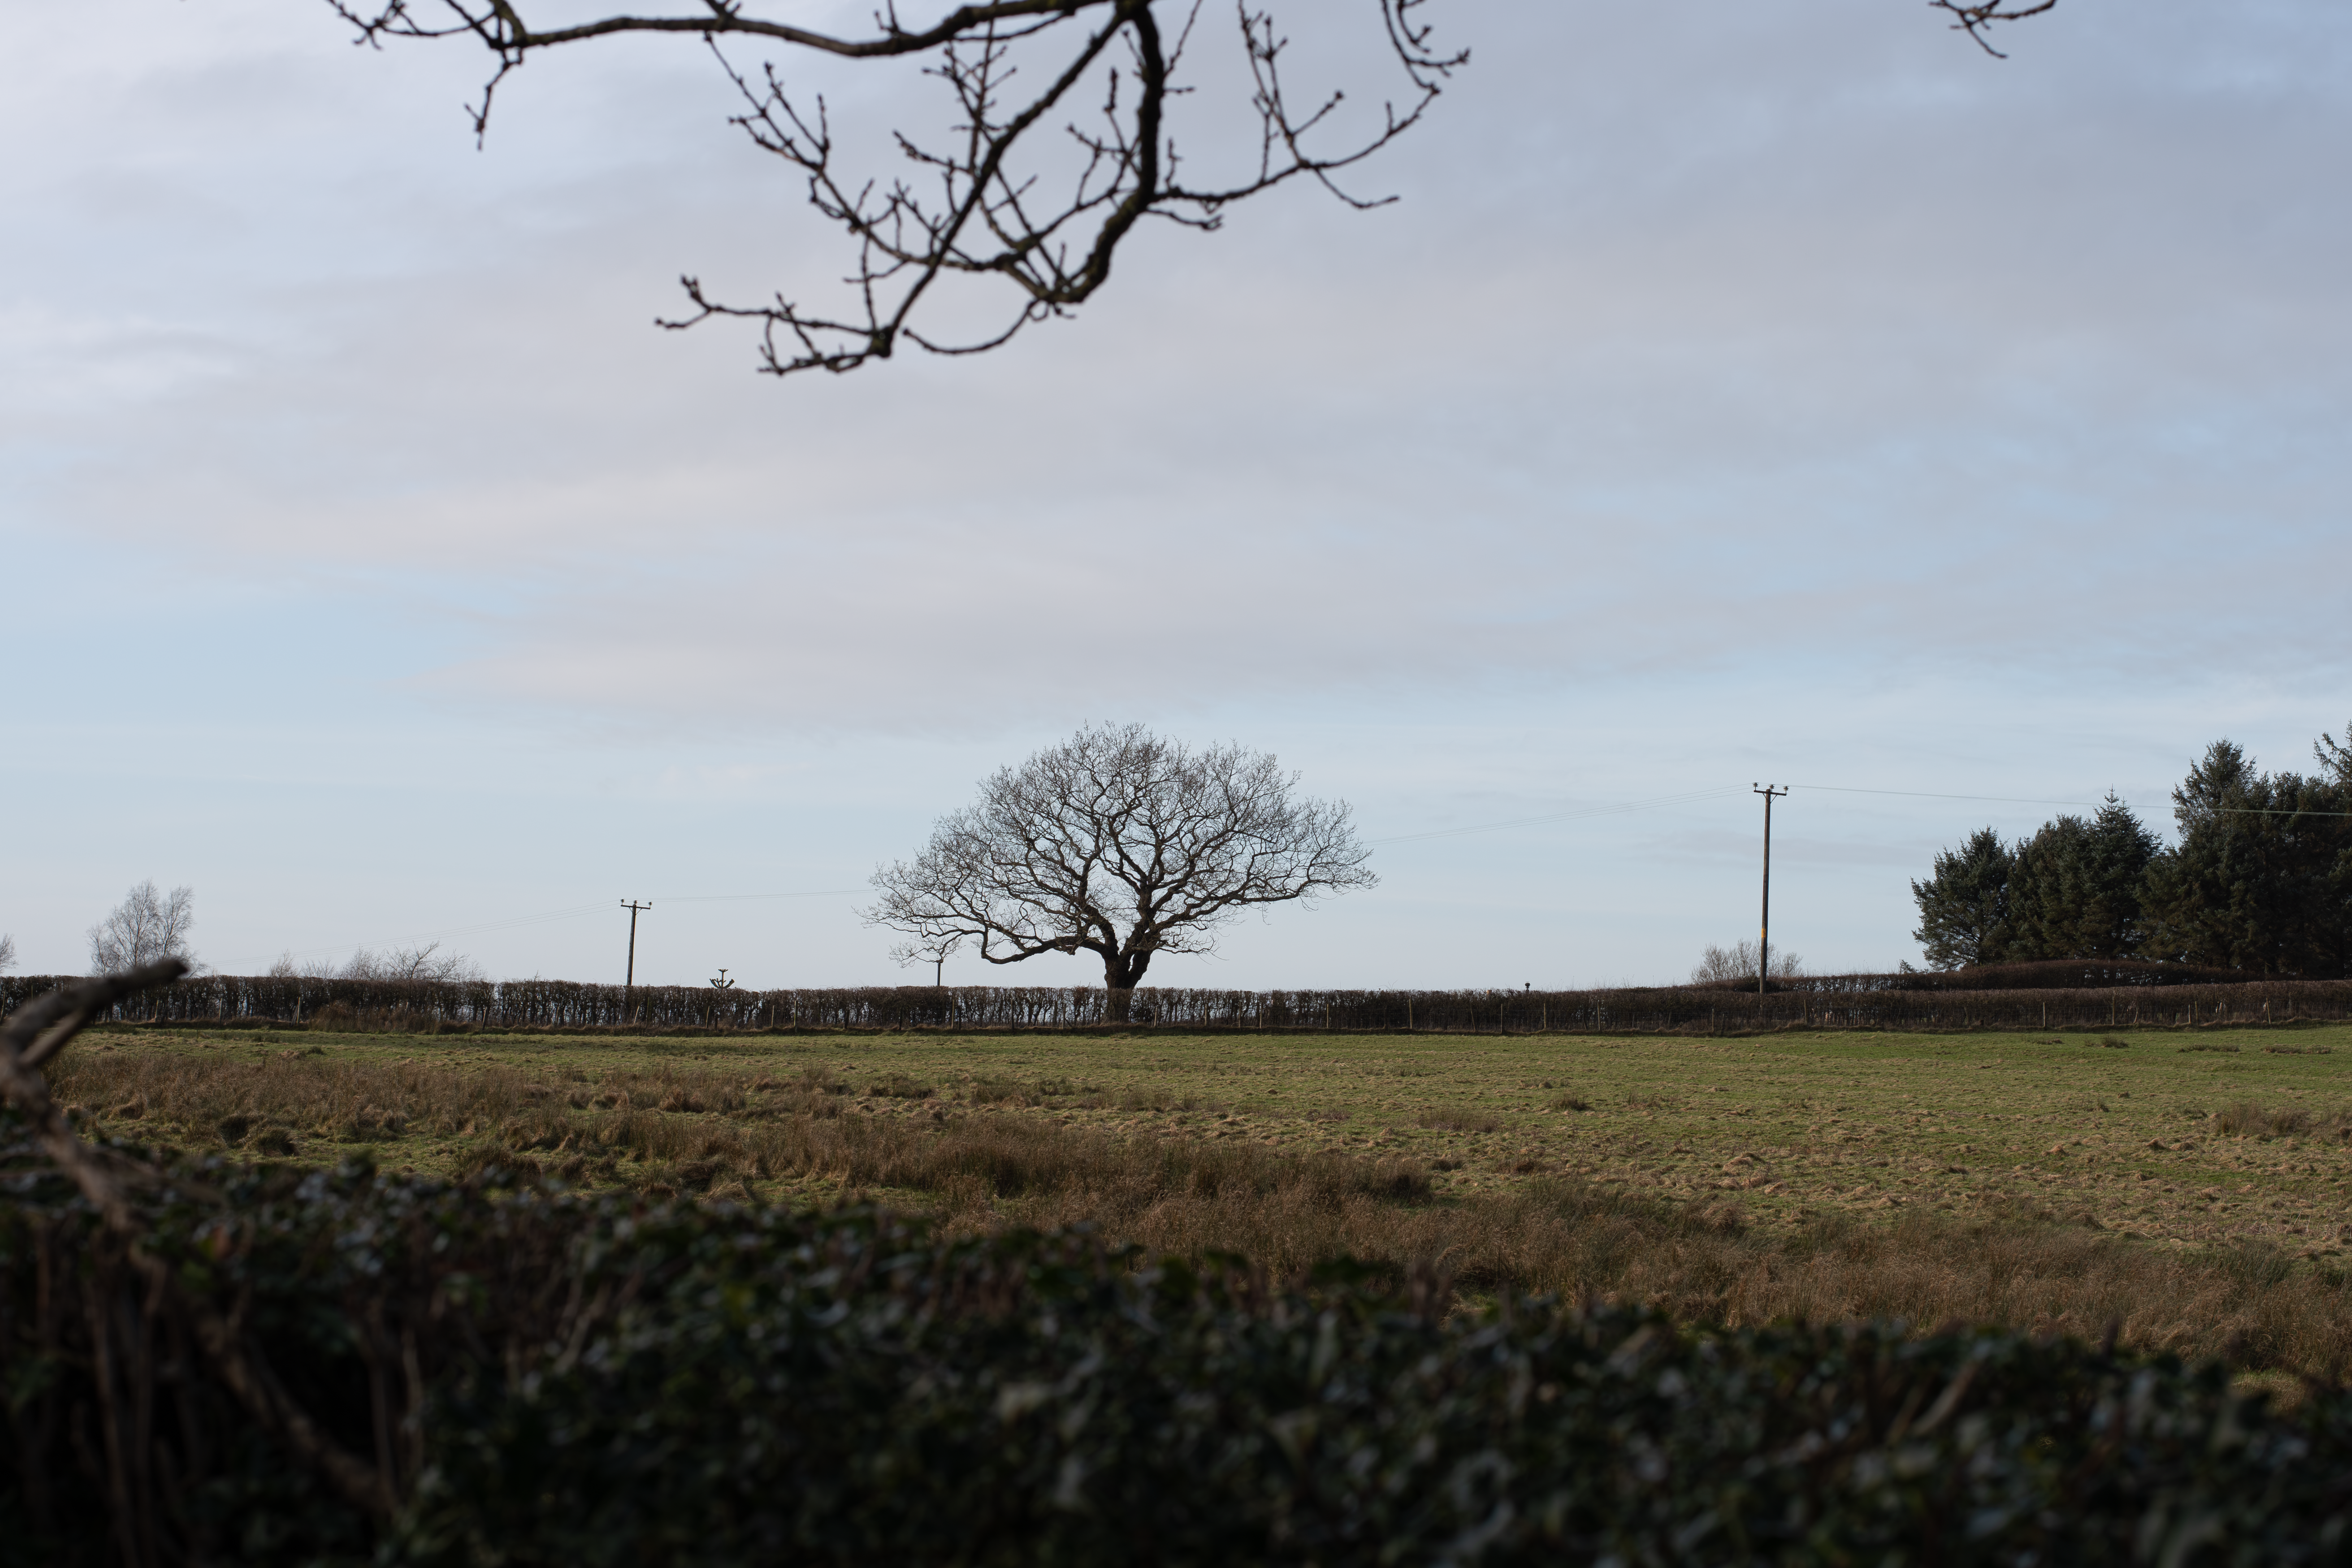
Once I had done this, however, it became easy to develop as I could just work from the previous image and tweak the other parts after I had placed the rest of the images in the correct order. This also allowed for some overlap on parts of different projects, as the overall environmentalism that my practice is a part of, flows inside of all units that I have done and lets me speak across all of them. This helped with the flow of the video after it was created and showed me something that I hadn’t intended to be inside of the work.
When looking over and tweaking the placement of the images over the audio, I also added a white border around all the images to allow for them to breathe inside of the platform that I was giving them. This also helped with keeping a consistent and simplistic look across all of the video, as all the borders were kept white and the text had white backgrounds to help it look clean and fresh.
Overall, after completing the video, I do feel that the work as a whole worked well and showed how the development of my practice has come together over the 7 years I have studied photography. It also showed the development of my video work from previous projects that I have done. I feel like in total, the work was of a high standard, showing some levels of research and development and having a strong quote that was linked back to on several occasions.

Leave a comment